GP Document Workflow
Webinars
Release Notes
Docman GP 276 - June 2026
Docman GP 272 - April 2026
Docman GP 268 - March 2026
Docman GP 266 - February 2026
Docman GP 261 - November 2025
Docman GP 259 - October 2025
Docman GP 257 - September 2025
Docman GP 255 - August 2025
Docman GP 253 - July 2025
Docman GP 251 - June 2025
Docman GP 249 - June 2025
Docman GP 247 – May 2025
Docman GP 245 – April 2025
Docman GP 241 – March 2025
Docman GP 238 – Jan 2025
Navigation
Intro and Navigation
How to Reset Your Own Password
How to Display the Docman Desktop App Toolbar
How to Activate New Partner Product
How to Add or Remove Homepage Web Links
Patient Documents
Personalisation
Administration / Reception
Filing
NHS Mail Password Maintenance
How to Capture Documents from a Folder
Rejection Codes for Electronic Documents (EDT)
How to enable Auto-Annotate
How to Add Date and Time Stamp Annotation
How to File a Document with Intellisense
How to File a Document with Filing Templates
Create a Document Review - Workflow Template
Create a Document Review - Manual
Create a Document Review - Levels (Sequential)
How to Manage Task Completion Settings
How to Create Folder Collections
How to Access and Use Document Collections
How to Delete Corrupt Documents
Scanning
Admin Tasks
Document Maintenance
Clinical
System Admin
User Maintenance
How to Create a User
How to Edit a User Profile
How to Make a User Inactive
How to Add and Remove User Roles
How to check and switch User Roles
How to Reset a User's Password
How to Create a New User Group
How to Maintain a User Group
How to Give Users Deleted Documents Notifications
Enabling Single Sign On (SSO) for Vision
Enabling Single Sign On (SSO) for EMIS
Filing Maintenance
How Should Intellisense Templates Be Used for Filing Accuracy?
Maintaining Intellisense filing templates
Best Practice for a Department Intellisense Template
Best Practice for a Hospital Intellisense Template
Best Practice for a Result Intellisense Template
How to Move a Document
Restoring a deleted document
Adding a Filing folder
Managing Document Folders
Managing Filing Templates
Creating and Using Custom Annotations
Understanding the NHS Mail Folders
Setting Patient and Document Security in Docman
Task Maintenance
How to Create a Workflow Template
How to create a Workflow Template (video)
How to Enable Auto Start in a Workflow Template
How to Create a Task Template
How to Set the Task Priority in a Task Template
How to Create and Use a Quick Step
How to Create and Use Views
Reporting
How to Access Reports
What Predefined Reports Are Available?
How to Create a User Activity Report
How to Create an Active Task Chart
Read2 to SNOMED Switch
Docman 7 to Docman GP Migration
What are Patient Facing Services?
What are Patient Facing Services?
Patient Visibility settings when Filing - No Review
Patient Visibility settings when Filing - Review
Setting Visibility in Workflows or Tasks
Existing documents and setting visibility - Edit Filing Details
Existing documents and setting visibility - Move
Existing documents and setting visibility - Duplicate
Share
Docman Connect
Connect Release Notes
Docman Connect 276 - June 2026
Docman Connect 272 - April 2026
Docman Connect 268 - March 2026
Docman Connect 266 - February 2026
Docman Connect 261 - November 2025
Docman Connect 259 - October 2025
Docman Connect 257 - September 2025
Docman Connect 255 - August 2025
Docman Connect 253 - July 2025
Docman Connect 251 - June 2025
Docman Connect 247 – May 2025
Docman Connect 245 - April 2025
Docman Connect 241 - March 2025
Docman Connect 238 – January 2025
Docman Connect User Guide
Connect API Codes
2 Factor Authentication
Using ‘Groups’ with Connect
Connect API Consumer Creation
Connect Password Rules
Docman Connect Retention Periods
Docman Connect Service Description
Connect Printer Drivers
Docman Connect Inbound Document Model
Referral Management System (RMS)
Docman RMS e-RS User Guide
RMS Training Material Scanning and Filing User
RMS Training Material Clinical User/Consultant
RMS Training Material Appointments/Booking Team
RMS Training Videos System Support
Step by step guide to making the desktop app visible
Configure My Apps for Reports
Forgotten your Docman password?
Technical Documents
Creating a Desktop Shortcut to Docman 10
Docman 10 API Codes
Docman 10 Accepted and Excluded File types
Docman Cloud Enabler App Deployment
Docman Desktop Application Deployment
Docman Desktop Services
Downloads Centre
Postman Configuration Tutorial
Using Docman 10 With a Proxy Server
Turning off the Docman Scheduler
Docman API user activation in EMIS
Warranted Environment Specification (WES)
Customer Support
- All Categories
- Docman Connect
- Connect Printer Drivers
Connect Printer Drivers
Downloading the Printer Drivers
The Docman Printer Drivers for Docman Connect can be downloaded from a number of locations:
- First, by accessing the following URL and scrolling down to Connect: https://apps.docman.com/
- Or second by logging into the Connect console and clicking on “Help” in the top right of the screen, then “Print Driver”.
Installing the Printer Drivers
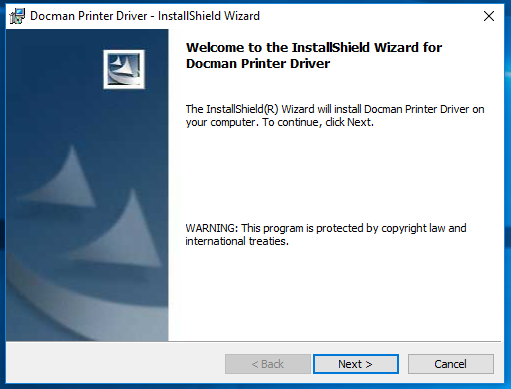
1. Once the Printer Driver has been downloaded to your computer, either double click the downloaded file in your Downloads folder or single click the downloaded file in your browser.
This will open the Docman Printer Driver install wizard as shown below.
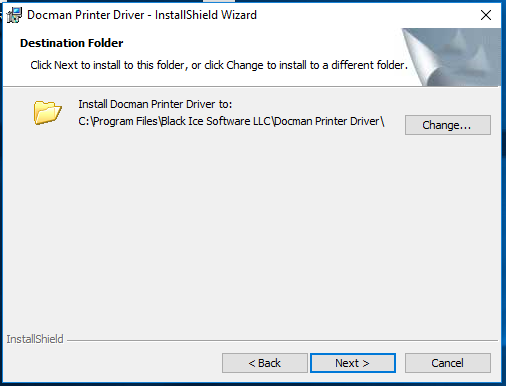
2. Click Next and check that you are happy with the install location, this is set by default to your Program Files. If happy then click Next and the install will run.
Configuring your Printer Driver
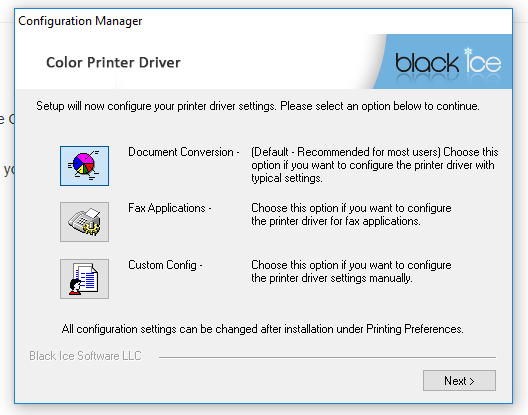
1. Once the install has complete, the configuration window will be displayed as shown below. We need to configure the Printer Driver so that we can successfully connect to the Docman Connect application. Click Custom Config and then click Next.
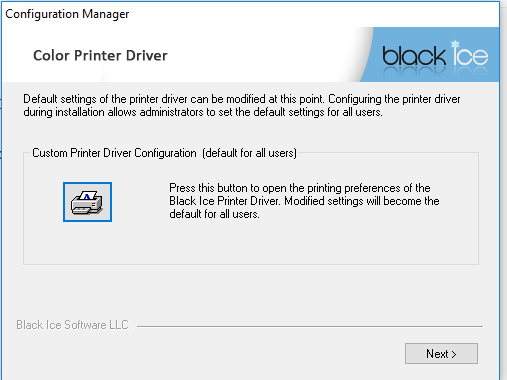
2. Click the Printer Icon as shown below in the blue box.
Docman Printer Properties
3. This will open the Docman Printer Properties window as shown below. Select the File Format tab at the top of the windows and we now need to configure the printer with the correct settings. Please use the settings below:
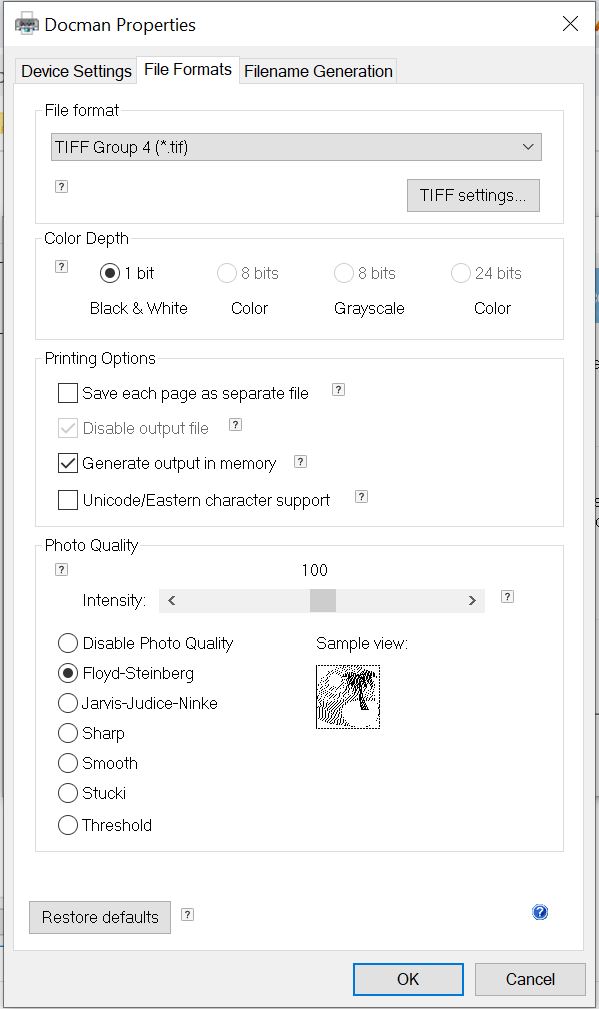
File Format = TIFF Group 4 (*.tif)
Colour Depth = 1 bit Black & White
Printing Options = Tick Generate output in memory
Photo Quality = Floyd-Steinberg
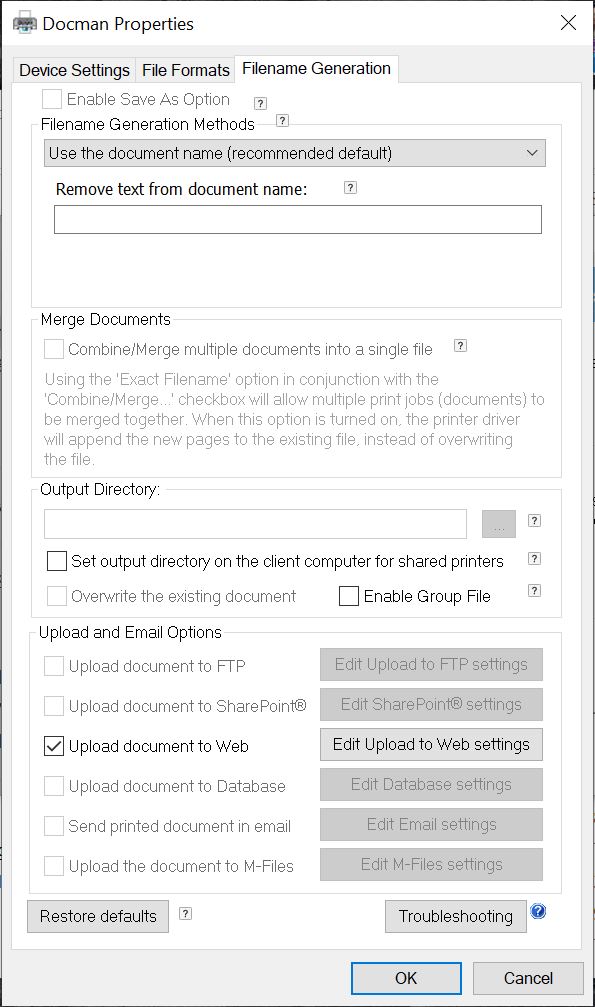
4. Once you have configured the file format, click the Filename Generation tab at the top of the window. Look for the Upload and Email Options section and make sure the checkbox for Upload document to Web is ticked as shown below. Click Edit Upload to Web Settings.
5. We now need to connect the printer driver to the Connect application.
Please use the following settings, your configuration should look like the below screenshot but with the appropriate URL.
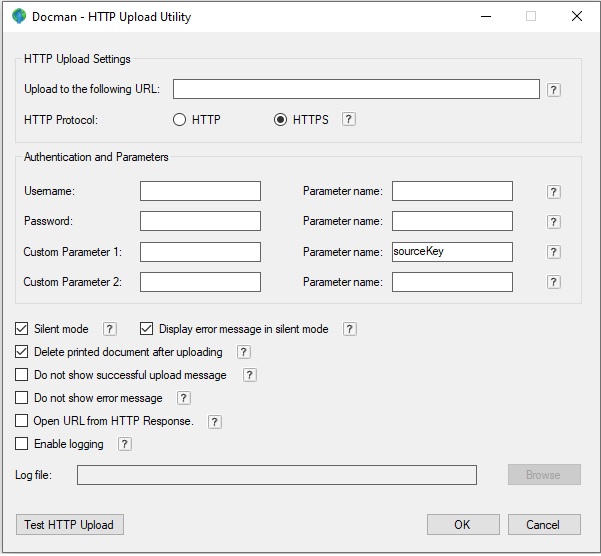
Upload to the following URL = https://console.docman.thirdparty.nhs.uk/upload/printeddocument (Production URL)
or https://console.ss1.docmansandpit.com/upload/printeddocument (Sandpit URL)
Custom Parameter 1 = Leave blank for now!
Parameter Name = sourceKey
Generating your Print Key
You may have noticed that we left the Custom Parameter field blank. In order to get the key needed for this field we now need to log back into Connect.
Leave the Docman – HTTP Upload Utility window open!
1. Open Google Chrome or Edge browser
2. Log into the Connect console
3. Click your name in the top right of your screen
4. Click Generate Print Key as shown below
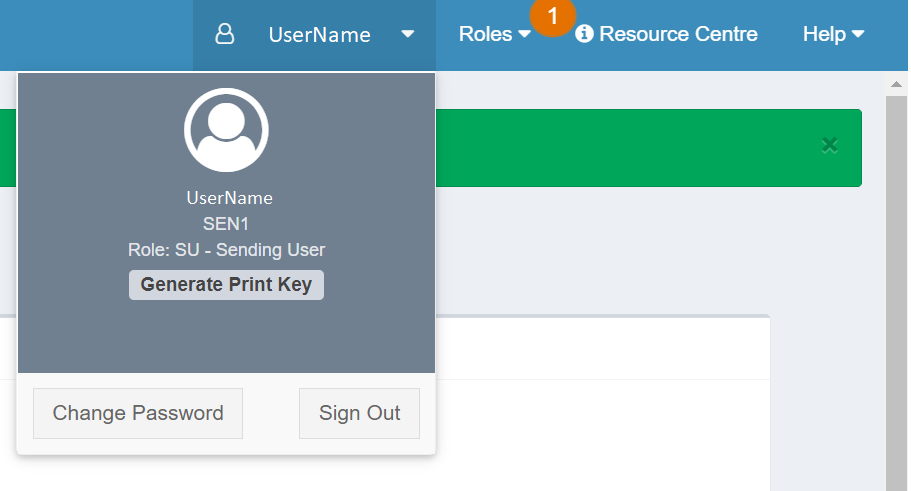
5. Click View Print Key
6. Copy the key displayed on your screen. This can be done by highlighting the key and either pressing Ctrl + C or Right-click and select Copy.
Finishing you configuration
1. With your Print key copied, you now need to return to the Docman – HTTP Upload Utility window.
2. Paste your Print key in the Custom Parameter field adjacent to your populated Parameter Name.
Your configuration should now look like the below screenshot.

3. Before we finish, click Test HTTP Upload
If you get a failure message then check the URL and try step 3 again.
If you get a success message then proceed to next step.
4. Click OK
5. On the Configuration Manager window shown below, click Next.
6. On the Install wizard as shown below, click Finish.
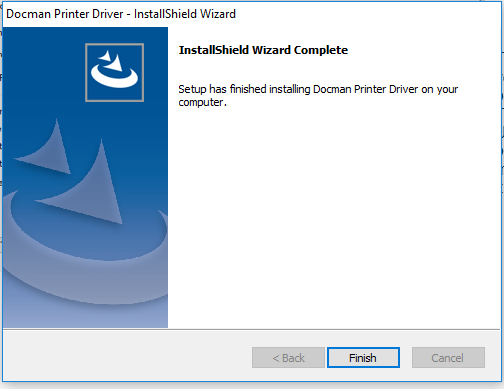
Install Complete!
You can now use the Docman Printer driver when printing from your computer. This will upload your document to the Connect Capture page and will show in the list of captured documents down the right side.
Updated on November 24, 2021